I love to encourage others to try their hand at machine quilting. I’ve blogged about getting started with free-motion quilting here and some of my favorite FMQ tips here.
The number one tool I like my machine quilting students to acquire costs nothing, and everyone has one of these if they know where to look:
It’s a “can-do” attitude. 🙂
Before you feel like you need to jump in and quilt elegant feathers or spend a ton of time stitching intricately quilted designs, try these tricks instead for effective, quick results:
(1) Don’t underestimate the capabilities of your walking foot.
You can add amazing texture to your quilts with simple straight (or not-so straight) lines. I quilted Baby Bricks by marking a series of straight lines across the diagonal of the quilt and quilting them with a blending cotton thread.

Baby Bricks Quilt Along by Christa Watson
This was an effective way to quilt this quilt and it’s enough to hold the quilt together so that it’s washable and useable. However, I always like to add more quilting so I went back later and quilted many more rows in between the original lines. I didn’t mark any of the extra quilting. I simply used the edge of my walking foot as a guide.

(2) Try stitching “near” the ditch.
Stitching in the ditch is boring and time consuming, so I came up with a jazzier way to quickly quilt the seam lines while adding a little texture. Use a built-in decorative stitch with your walking foot and quilt across the seam lines so you can see it. Most machines will allow you to change the stitch length or width for a variety of options.
 This is such an easy way to quilt, even a child can do it! My daughter quilted her first quilt when she was just 8 years old. 🙂
(3) Try quilting gentle wavy lines with your free-motion foot and the feed dogs dropped.
For my Li’l Rascals quilt, I quilted an unmarked grid with a very thin blending thread. I started by quilting roughly parallel wavy lines all going the same way:
 I then turned the quilt and quilted perpendicular to my first set of lines to create an “improv” sort of grid. I love quilting textures that don’t have to be evenly spaced!

(4) Practice quilting on real quilts.
The best way to learn is by actually quilting on a real quilt. Don’t stress too much about perfect tension or quilting designs. Try out your idea, dive in and do it, and then give the quilt away (to charity, or a family member or loved one). The recipient will love it and they will not notice your mistakes, I promise! It’s much easier to push past your mistakes when the quilt will not be around as a constant reminder of your learning.
(5) Remember: the best machine for quilting is the one you have right now.
My friend Lacey is stipple-quilting her very first quilt! I gave her two rules when I agreed to teach her how to quilt. #1 – She wasn’t allowed to use cheap fabrics. #2 She had to quilt her own quilt. 🙂
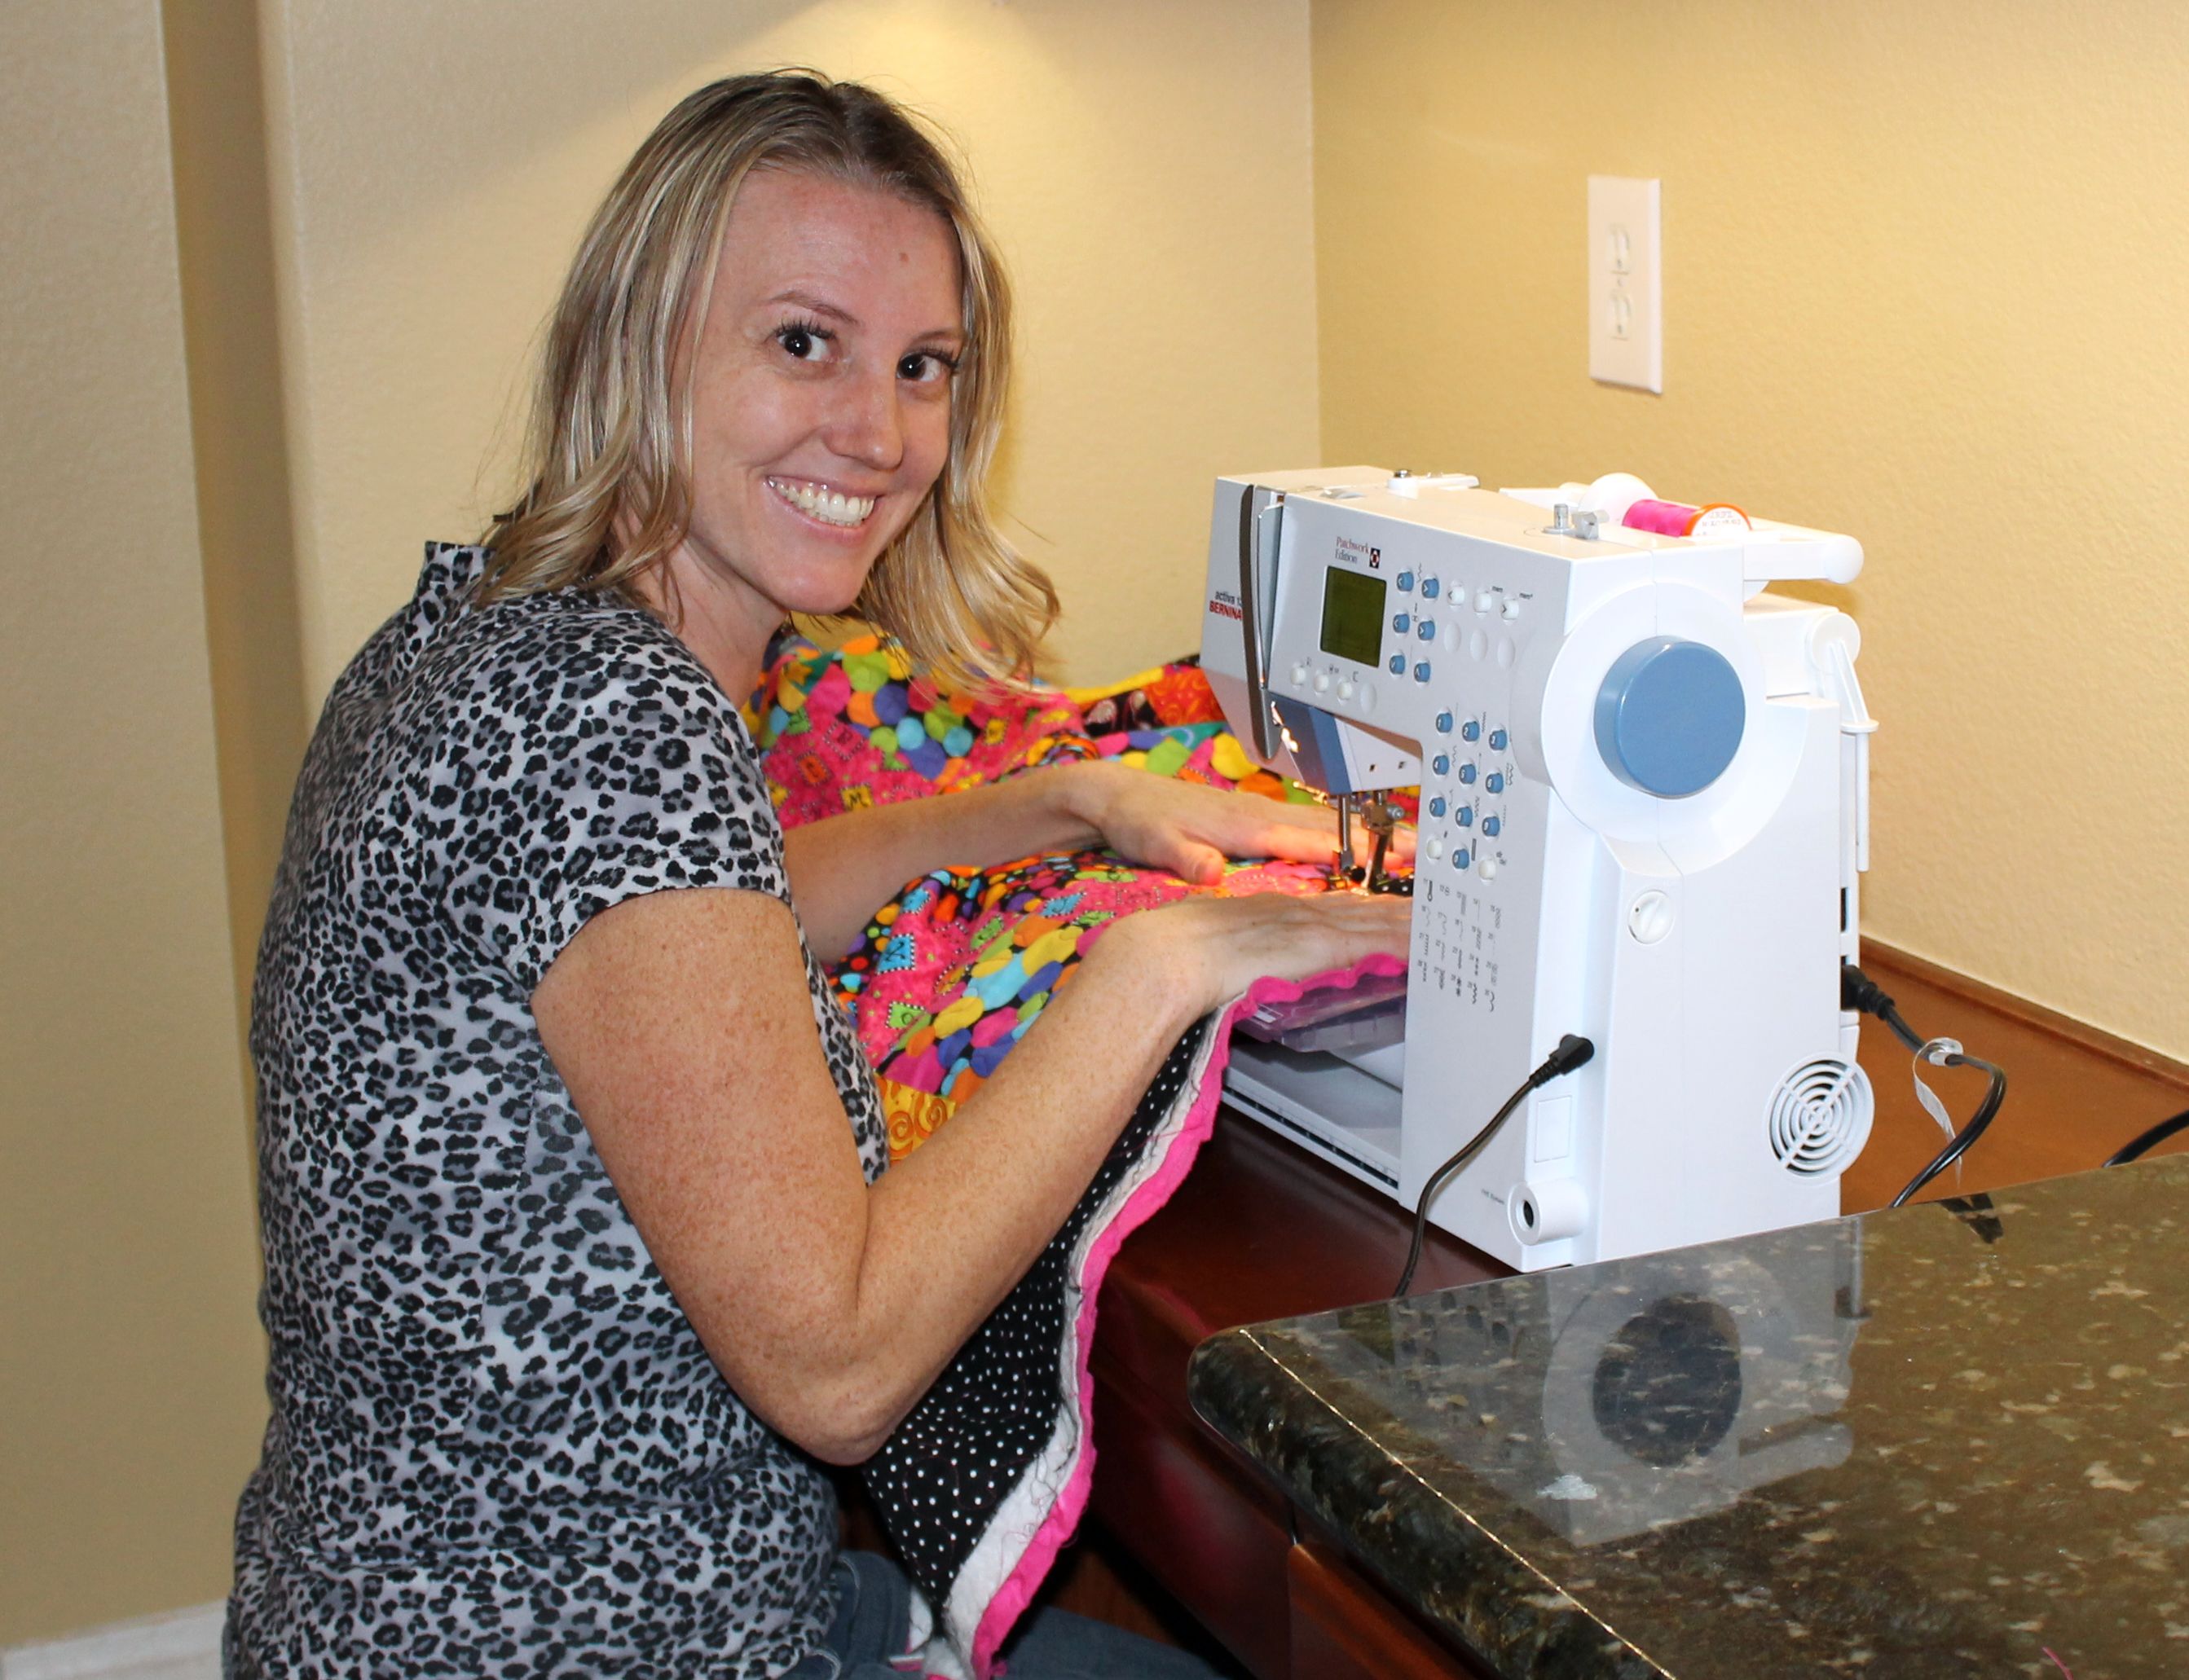
Lacey is working on her very first quilt. Whoo hoo!
Lacey doesn’t have all the fancy-schmancy equipment or a drop-in table with tons of room. She purchased a very basic, used Bernina from a local dealer and she doesn’t even own a walking foot. In fact, when quoted the price for a new walking foot, Lacey’s reply was, “for that amount of money, it should be called a running foot!” 🙂

Closeup of large stippling, also called “meandering.”
Lacey practiced on a couple of sample scraps to learn the rhythm of her machine, then she jumped right in and gave it a try on her actual quilt. She’s quilting on a larger scale, also known as meandering. She picked a bright pink thread that goes will all the colorful fabrics in the quilt. Doesn’t it look great so far?
(6) Give yourself permission to make mistakes.
The beauty of machine quilting is in the overall texture that quilting stitches add to the quilt. When you step back from your work a few feet, things look much better than when your nose is two inches away from your stitches. And when in doubt, add more quilting! The best way to hide imperfect stitches is with more imperfect stitches. 🙂
Think about it this way – if you are just beginning your journey into quilt-making, then your quilting skills will be at about the same level as your piecing skills. If you challenge yourself to quilt all of your quilts from the beginning, you can improve both techniques simultaneously, one quilt at a time!

Well said Christa. I think it is cheating when you let someone else do the quilting for you.
Thank you so much for these encouraging words! I am trying to quilt and sometimes get discouraged, but after reading this entry I will keep on trying.
Great post!
Just wondering if you could give some tips on how to tackle quilts about 80″ square. The last one I did, I quilted two lines to stabilize (divided it into four quadrants). Then I worked from the middle out. The trouble is, these original lines seemed to be stretched compared to the rest, so there was a wow at the side. I’m not sure how to avoid this?
Any tips are very much appreciated!
Gillian
Great question! In fact, I’m reviewing the Craftsy class,Quilting Big Projects on a Small Machine, on my blog tomorrow. It’s full of great tips on how to quilt larger quilts.
Ann Petersen’s top 2 tips are to use basting spray (which I haven’t tried yet) and to quilt the border seams first, contrary to popular opinion. Be sure to stop by tomorrow to read the entire review 🙂
Great tips! Especially #4. 😉
Well, I practiced tonight…and let’s just say it’s a bit less than perfect lol. But I made myself keep going until I was done! I at least feel like now I know I can definitely do, I just need lots and lots of practice. Thanks again for the reminder that yes, we can do this! 🙂
Christa, the small quilts seem not so daunting…but what about the bigger ones? BTW what fabric did you use in the blue quilt?
I quilt the bigger quilts the same way – one section at a time. I just allow myself plenty of time and don’t rush things. Remember – you only need to fit half (or less) of the quilt under the machine. The blue quilt was a collection called Baby Toiles plus some Kona Solid. I have a few of the prints left in my store 🙂
thanks for this post! your little nudges are so encouraging and gives us the hope that we can do this! love the wavy grid 🙂
Thank you for your post. Once again very encouraging. I made larger mug rugs for many friends and family this year and practised quilting both FMQ and walking foot. I am now motivated to do the wavy lines on the quilt I copied from your site, the one with the little hands that you did. I did a Berenstains Bears school yard charm pack, with white background Merry Christmas.
Thank you for the “can do” attitude. I have been doing some waves, diagonal andstitch in ditch. After today I will be trying some decorative stitch w my walking foot. Can you tell me what a serpentine stitch looks like. Email address svpierie@twc.com
I enjoy your blog daily.
Sandi pierie
The serpentine stitch is a gently wavy line going back and forth. Some machine have it – others you can make it yourself by using the zig zag and elongating the length and width.
Totally agree Christa – when in doubt, add more quilting! Then the texture will be the outstanding feature.
I finished one quilt so far and did a not so straight grid pattern on the quilting. I found that when I washed it a lot of the mistakes I had made didn’t even show up. Everyone I showed it to thought it was amazing and I ended up giving it to my son for Christmas last year. He loved it and actually undrstood how much work went into the making of it. I have found in many things that I do the only person that sees the imperfections is me and with quilting I need to let that go and just have fun with it.
Do you teach classes locally on FMQ? I’ve been wanting to learn but am super scared of screwing it up!
I have taught locally on and off for a few years. I need to get that going again next year 🙂
thank you so much for all your great help and tips. I am having fun, but at the same time it is stressful because I am such a perfectionist. I think I need to relax and realize it just wont be perfect. As my husband and 29 year old son says, “that’s what makes it so special to others”
LOL I need to listen to them.
I hear you on the perfectionist thing – I have to remind myself not to be one sometimes, or else I would never finish anything!!
I like your “stitch near the ditch” technique – that would be great for quick quilting with a little twist : )
One thing my aunt told me when I was stressing during my first quilt. (And still, the only quilt I’ve actually finished) is that amish women will purposely add one “mistake” in their quilts because only God is perfect.
I love your tips! Especially the one about FMQ a real quilt and don’t worry about it! I’ve said it so many times that I’m going to learn and do more…haven’t yet, but certainly do plan to.
Remember back to making your first quilt? Perfection was hard to comeby on mine! But I kept trying! Same with FMQ I am sure!
Oh yes, I remember that first quilt. I still have it!! And it was definitely far from perfect!
I have been FMQ on my home machine for many years. I sew enjoy seeing the great quilting you share. Very inspirational as I tend to get “stuck” with doing a “go to” design.
Beautifully said = I have started on small projects that I made for Christmas gifts, but I still do not have the confidence on such projects as I just finished (CA KING) for my husband for. But, I will keep at it as I have many projects in the coming year for my daughter and her roommates Have a joyous holiday..
That’s a great idea to practice on some smaller projects as you gain confidence. Then when you are ready to quilt the huge quilt, take it one section at a time and give yourself plenty of time to finish so you don’t feel rushed. You really only need to handle about 1/4 of the quilt under the needle at a time. The rest of it can be in front, behind or to either side of the needle.
Thanks for the great tips. I just finished three quilt tops that are supposed to be my kids Christmas Eve quilts. Then my ‘larger’ machine broke so I only did some anchor stitching in the ditch and added my binding. I can at least have them serviceable for Christmas eve. My smaller machine is very small though, I’d love to know what you think I could add to them to keep them more secure. I plan to make the Jolly Jelly Roll next time I have time!
That’s a great point to add a minimal amount of quilting so it’s “finished” and then go back and add more quilting later! I think it would be fun to add some straight or wiggly lines in random places over the top of the quilt. I plan on trying that style out on a future project to see how it looks. 🙂
Your words are exactly the ones I use…….great post! Echoes my “quilting philosophy” exactly!! Perfection will never be found on this earth……so pin-baste (or whatever) and go for it!!!! Relax and enjoy the process……it’s totally addictive (ask me how I know!!! LOL!)!!!! Hugs and Christmas Blessings…………………………………..
What an encouraging post! You are sew right about the can do attitude. It applies to anything you want to do! Great to see you helping your daughter and friend to learn to quilt. I loved hearing Lacey’s reaction! Merry Christmas to you and yours!
I learned to machine quilt by volunteering to quilt Project Linus quilts at my local quilt shop. Babies don’t care about the quilting so I just jumped in and did it. It became second nature. I still volunteer for Project Linus and love quilting the tops donated by quilters for the project.
What a great way to practice and help others at the same time!
You are such an inspiration. I too believe you should just jump in and quilt on the quilt. I tried practice squares and found that I can do fmq on them but the challenge was using squares that were pieced. I keep practicing on my quilts and find I learn more that way.
Thank you for this! I love these tips and shall be trying to quilt my own quilt soon!
Such simple and encouraging instructions! On to the adventure!
Thanks Christa, such wise advice especially point number six. Merry Christmas
Thankyou so much for your tips and giving me confidence to quilt my own quilts
Wow…I so appreciate your encouraging words! It is easy to get caught up in the comparison game. I love the process, and know that practice makes improvements! I don’t think perfection will ever be part of my quilting/sewing life! Thanks, Christa!!
Although I am a hand quilter, I have used my walking foot to quilt diagonal lines on my nephews and nieces’ quilts that had to be finished asap. I haven’t tried curvy lines yet; I will have to try that on another baby quilt I plan to make. Thank you for sharing your tips on machine quilting, Christa.
You are welcome! It’s great to know there are still hand quilters out there, too 🙂
Great, encouraging tips. I have struggled with quilting and I have seriously considered sending my work out to be quilted so everything will be perfect. Now, I think I will just embrace the imperfections and recognize them as growth. And thanks for reminding me I can quilt on the machine I currently own. No major investments or debt required at this point in my hobby.